Syhunt Hybrid: Web UI
The information in this document applies to version 7.0.12 of Syhunt Hybrid.
Table of Contents
| Introduction |
| Enabling the Web User Interface |
| Configuring User Roles |
| Exposing the Web UI Securely |
| Enabling Display on Headless Linux |
| Limitations |
| Compatibility with Different OSes |
Introduction
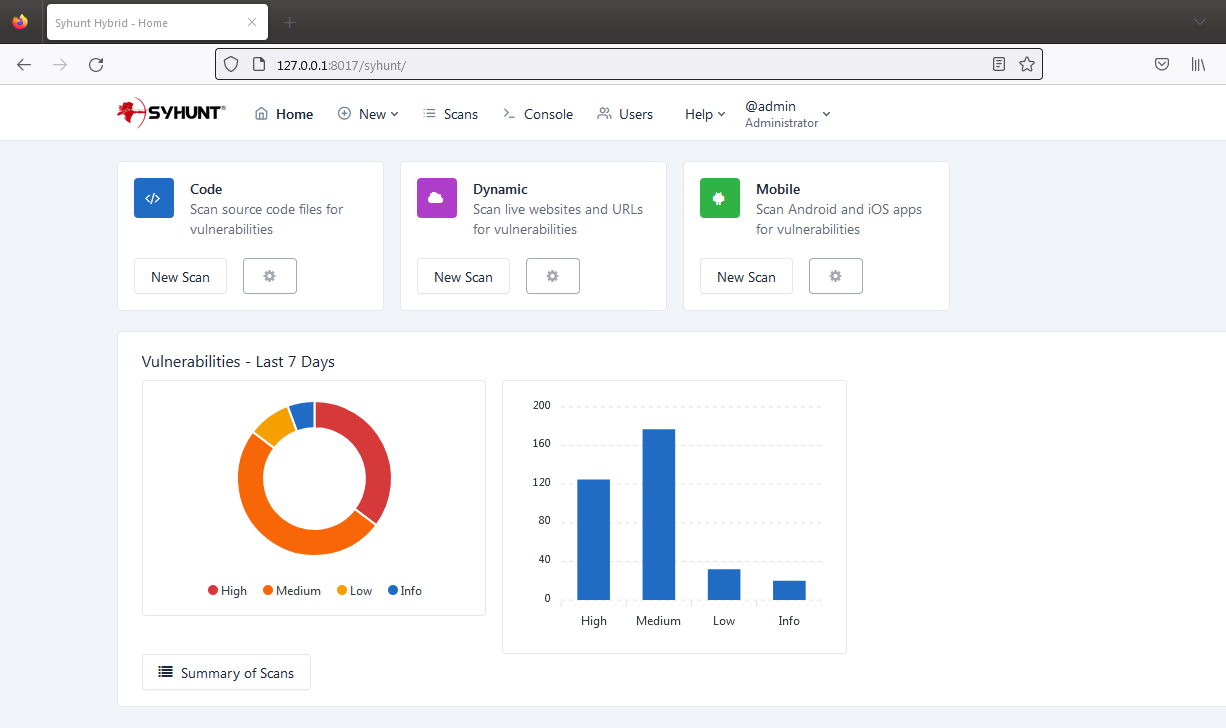
Starting with version 7.0.11, Syhunt Hybrid comes with a web user interface and a REST API that can be enabled on Windows or Linux machines. While still evolving, the web UI allows to launch DAST, SAST and MAST scans, view results of scans (including those started through the GUI, CLI, REST API and scheduler if any), generate reports and exports, manage users, user permissions and active sessions, run console commands and more. The web interface and reports are currently available in 8 languages - English, German, Spanish, French, Italian, Japanese, Korean and Portuguese.
The Syhunt Hybrid web interface has been built on top of a robust web server - Openresty (Nginx + Lua), uses Bcrypt with a high factor for password hashing, secure session ID generation and implements login protection against brute force.
Enabling the Web UI
- If you are on a headless Linux server, such as Ubuntu Server or CentOS Minimal, enable a display and make it start automatically at boot.
- Open the command prompt or terminal and go to the location of the Syhunt CLI - the default location depends on your OS.
- Setup the key user accounts.
- Execute the following command to set the admin password: scancore -pwdset:admin
- (Optional) Execute the following command to set additional accounts: scancore -pwdset:someusername
- (Optional) If you want the web UI to use a different language, run the command: scancore -langset:CODE See the available language codes
- Run the server: scancore -apisignal:start
- Now you can access the web UI and login at: http://127.0.0.1:8017/syhunt/ and also use the Syhunt REST API.
Additional Steps
- On any Linux, if you plan to perform SAST and MAST, make sure enabled the Hybrid Plus extensions.
- Auto-run - On Windows, once the admin password is set, the web UI is launched each time the Hybrid Scheduler service starts. This ensures that the web UI remains running even if the current user logs out. On Linux, use the cron service to schedule the launch of the server.
Configuring User Roles
When you are logged in as Administrator, you can change the role of any user to Operator, Restricted Operator or Viewer. The following are the existing roles:
- Administrator - The admin can launch and view results of all launched scans, edit user permissions and preferences and run console commands. Currently, just a single admin account is allowed.
- Operator - A user with this role can launch and view results of all launched scans.
- Restricted Operator - A user with this role can launch scans but only view the results of the scans launched by himself.
- Viewer - A user with this role can view results of all launched scans, but is not able to launch any scans.
Exposing the Web UI Securely
Because the Syhunt web UI server comes pre-configured and gets updated every time Syhunt is upgraded, it is not advised to modify its settings. If you need to expose the web UI to the Internet or Intranet, we recommend setting up a reverse Nginx proxy with SSL enabled. You will need to generate a certificate.crt and a private.key to be used with it - the instructions below assume you already have the certificates ready.
On Windows:
- Download Nginx for Windows: http://nginx.org/en/download.html
- Apply the Nginx nginx.conf configuration changes described below.
On Linux:
- Install Nginx:
- On Ubuntu: sudo apt install nginx
- On CentOS 7: sudo yum install nginx
- On CentOS 8: sudo dnf install nginx
- Edit the Nginx configuration file: sudo nano /etc/nginx/nginx.conf
- Comment the lines: include /etc/nginx/conf.d/*.conf; and include /etc/nginx/sites-enabled/*;
- Within the http section include:
   server {
                listen 443 ssl;
		server_name syhuntwebui;

		ssl_certificate /path/to/ssl/certificate.crt;
		ssl_certificate_key /path/to/ssl/private.key;

		location / {
		proxy_pass http://127.0.0.1:8017;
		proxy_set_header Host $host;
		proxy_set_header X-Real-IP $remote_addr;
		proxy_set_header X-Forwarded-For $proxy_add_x_forwarded_for;
		proxy_set_header X-Forwarded-Proto $scheme;
		}
	  }
- After saving the changes, test the new configuration: nginx -t
- Allow traffic from localhost to port 8017 and allow incoming traffic on port 443:
- On Ubuntu:
- sudo ufw allow from 127.0.0.1 to any port 8017
- sudo ufw allow 443
- On CentOS:
- sudo firewall-cmd --zone=public --add-port=443/tcp
- sudo firewall-cmd --permanent --add-rich-rule='rule family="ipv4" source address="127.0.0.1" port port=8017 protocol=tcp accept'
- sudo firewall-cmd --reload
- On Ubuntu:
- Restart the Nginx server: systemctl restart nginx
Enabling Display on Headless Linux
If you are running Ubuntu Server, CentOS Minimal or other headless Linux distro, before trying to start a scan through the web UI or to generate a PDF report, you will need to install and start xvfb - otherwise Syhunt will hang while generating a PDF report or while performing a scan.
- Install xvfb:
- Ubuntu Server: sudo apt-get install xvfb
- CentOS 8 / 7: sudo yum install xorg-x11-server-Xvfb
- RH8: https://stackoverflow.com/a/65311975
- Start the xvfb display on a specific display port - this example uses port 99: Xvfb :99 &
- Tell the terminal session to use the display port: export DISPLAY=:99
- Test the PDF report generation: ./scanurl sometarget.com -rout:areport.pdf
Finally, to have this display always available, you should set it up to start automatically at boot:
- Create a file named /etc/systemd/system/Xvfb.service with the following contents:
[Unit]
Description=X Virtual Frame Buffer Service
After=network.target

[Service]
ExecStart=/usr/bin/Xvfb :99 -ac -screen 0 1024x768x16

[Install]
WantedBy=multi-user.target
- Then, enable and start the service:
- sudo systemctl enable Xvfb
- sudo systemctl start Xvfb
- Finally, add the line export DISPLAY=:99 to /etc/environment to make the DISPLAY Environment Variable persistent for all processes and users
Limitations
- On Linux, code scans launched through the web UI can only target public GIT repositories. If you need to target a private repository, use the scancode CLI command instead to launch the scan after properly configuring your repository credentials or SSH keys. Additionaly, direct connection to non-GIT Azure (TFS) repositories are not supported on Linux machines.
- While the current version does not includes screens that allow to edit global scanner preferences or site preferences, if you are logged in as admin, the Console screen allows to view and edit preferences using the scancore command.
- On Linux, PDF report generation through the web UI is not available.
Compatibility with Different OSes
- Windows 10, Windows 11 and Windows Server 2022
- Ubuntu GUI 23.10 and 22.04
- Ubuntu Server 23.10 and 22.04*
- CentOS 8.5 GUI
- CentOS 8.5 Minimal (headless)*
- CentOS 7 GUI and Minimal (headless)*
- MacOS Monterey 12.7.2 (Intel)
(*) On headless Linux, if scans started through the web interface terminate prematurely at start - status of scans change from Scanning to Canceled, you need to enable a display.